How to Program a Garage Door Remote and Change the Batteries
When it comes to opening your garage door, garage door opener remotes make life a lot easier. However, just like with a TV remote, it’s useless if it’s not programmed correctly or the batteries are dead. In the sections below, we’ll break down the general process of how to program your remote, along with some more specific methods for LiftMaster products. Along with looking at the step-by-step process for programming, we’ll also walk you through how to change the batteries in your remote.
How to Program Your Garage Door Remote
While programming a garage door remote, you first want to understand what the buttons mean — knowing the layout of your remote will make reprogramming easier. Be sure to examine your remote to ensure you know the location of each button. Then, you should check that your remote is the same brand as your garage door opener. Otherwise, it may not work, as they won’t be compatible.
With that knowledge, you can begin the general garage door remote programming process.
General Programming Process
- Get to an area where you can reach and examine your garage door opener – specifically the motorhead hanging from the ceiling.
- Inspect the garage door opener, looking for a button labeled “learn.” If you can’t find the button, take off the opener’s light cover and look inside, as it may not be located on the exterior.
- Press and release the button – normally there will be a light next to that button that illuminates to indicate you are ready to program the remote. While the program light is on, press the button on the remote you wish to program. There is typically a 30-second window to program the remote between pressing the “learn” button and pressing the remote button. Once programmed, the light next to the learn button that illuminated will be off.
- Once you confirm the program light is off, press the button programmed to check the programming. If the door opens, you’ve successfully programmed your remote.
How to Program a Standard LiftMaster Garage Door Remote
LiftMaster remote controls can be used for many devices including gates, garage doors, commercial door openers and external wired-in receivers. Using the steps below, you can reprogram your LiftMaster garage door remote:
- Locate the “learn” button on the garage door opener or receiver. This button will be on the same side as the antenna. The button may be green, orange, yellow, red or purple with a small LED light next to it.
- Depending on the model of your garage door opener, you may have to remove the lens to access the learn button.
- Press and release the “learn” button; be careful NOT to hold the “learn” button down too long or that may erase all programming.
- Within 30 seconds of pressing the “learn” button, press and hold for about three seconds the button on your new remote that you wish to use when controlling the garage door opener.
- The LED indicator on the garage door opener will turn off and/or the garage door operator lights will blink.
- Now, test the button on the door opener remote to ensure it operates the garage door opener.
How to Program a LiftMaster MAX Garage Door Remote
The LiftMaster MAX remote works with all 315MHz or 390Mhz LiftMaster garage door openers produced after January 1993. This includes all Chamberlain and Sears Craftsman openers that contain a green, orange, red, purple or yellow “learn” button. Note that each color indicates a different number of times you must press the “program” button — yellow is one, purple is two, red/orange is three and green is four.
- Close your garage door.
- Locate the “program” button on your garage door opener remote. This will be a bit different for each model — the 890MAX model has a small hole with a button inside that can be activated with a straighten paper clip while the 893MAX has a button on the back of the remote under the visor clip that can be activated by using the removed visor clip.
- Activate the remote “program” button as noted above until the indicator light illuminates on the front of the remote.
- Press and release the button you wish to program on the remote as many times as your colored “learn” button indicates then press one of the other two buttons on the remote; the indicator light on the front of the remote should be out.
- Press and release the garage door opener “learn” button then press and hold the remote button programmed in step 4 until the garage door opener light bulb blinks.
- Once the light bulb flashes, programming should be complete.
- Press the newly programmed remote button to operate your garage door.
If the above process doesn’t work, it may be best to review your manual or contact an expert for help.
How to Change Your Garage Door Remote Battery
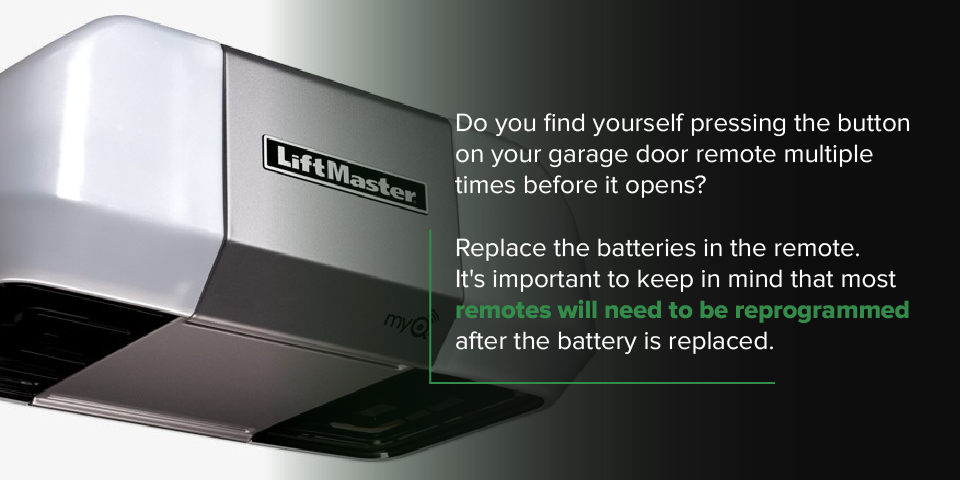
Do you find yourself pressing the button on your garage door remote multiple times before it opens? The odds are that it’s time to replace the battery in your remote. While it’s a fairly easy process, it’s important to keep in mind that the remote may need to be reprogrammed after the battery is replaced.

Here are some general instructions to change your garage door opener remote battery:
- Locate and access the battery compartment of the remote – there may be a “battery compartment cover” that slides off or pops open; for “newer” LiftMaster and Chamberlain remotes you will need to use the visor clip to separate the remote case – following along the seam between the front and back part of the remote case to find a “carve out” in which to put the visor clip and with a twist of the clip the front and back parts of the cover will pop apart. **NOTE – it is best to do this with remote at room temperature (70 degrees or higher) as the remote case is plastic and will crack in cold conditions.
- After opening the case, locate and remove the battery. Most newer LiftMaster and Chamberlain remotes us a CR2032 battery. Install the new battery making sure it has been placed in the battery compartment correctly.
- With the new battery installed, carefully put the remote case back together. Test the remote to confirm it activates the automatic opener; if not, follow the steps above to program your remote.
Choose Hunter Door for Your Garage Needs
With over 50 years of experience providing homeowners and builders with long-lasting garage doors and prompt, professional services and repairs, Hunter Door is your trusted partner in New Jersey. At Hunter Door, we carry quality products from Clopay, ProVia, LiftMaster and Genie, and our experienced staff is ready to help.
In addition, as an added benefit – Hunter Door will change the battery in your remote for FREE; simply bring the remote to our showroom and we’ll change the battery for FREE …. it’s our way of saying thank you to past, present and future customers!!
Are you looking to update your current garage door opener? Hunter Door carries LiftMaster garage door openers that include top of the line features with time-tested durability. Today’s most innovative garage door openers offer enhanced safety features and easy-to-use controls. Let us help you upgrade your garage door with a new garage door opener!

If you’re having problems with your garage door or garage door opener, give us a call or fill out our contact form today to request a service appointment.
